Learn How To Repair A Roof Leak
The way in which you repair you roof will depend on the type of material your roof is made of and the cause of the leak. Once you have located the cause of your leaking roof, you may be able to use one of the following methods to repair it. Please remember to be safe when repairing your roof and if you cannot repair it in a safe manner, it’s always best to call in an expert to help.
How to repair felt roof shingles
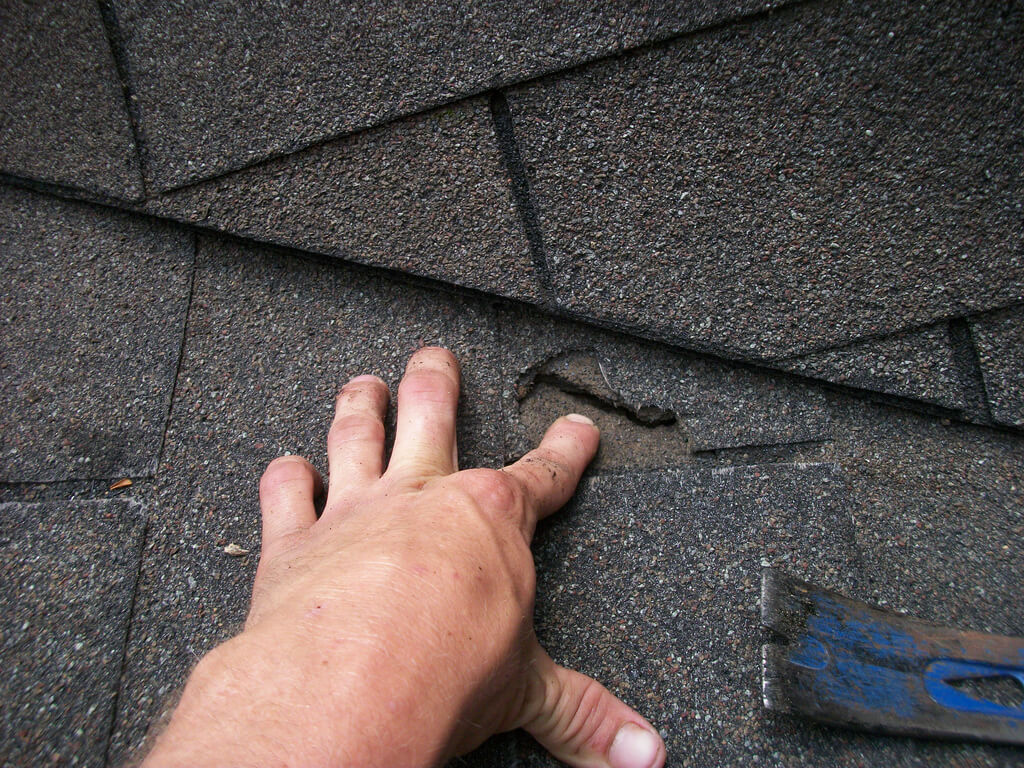
If you have a shingled roof, once you have located the source of the leak, you will want to look for any damaged, curled or missing shingles in that area. They will most likely be the cause of your leak and require quite a simple repair.
If the roof shingle is curled back, soften the edge of the shingle using heat from an electric hair dryer. Do not use an open flame to dry the shingle out as they may be flammable. Once the shingle is straightened, reattach it in place using a decent amount of asphalt roof cement or compound around any exposed edges.
If you find that a shingle is missing or damaged beyond repair, it is quite easy to replace them. Shingles which lift off the roof easily or crumble when touched need replacing. First, you need to remove the damaged single by lifting its edges and prying the nail out with a hammer. Then remove any leftover roofing cement in the area and use a sharp utility knife to round back the corners of the new shingle. Finally, slip the new shingle into place and hammer 3.2cm galvanized roofing nails into each top corner and cover the nail heads with roof cement.
How to repair roof rolling
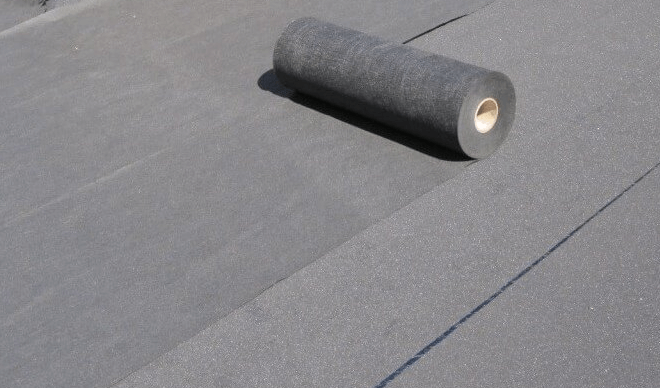
Your roof might use roof rolling as a more economical alternative to roof shingles. If that is the case, the repair is still quite simple. Locate the leak and then search for any cracks or blisters in the roof rolling.
To mend the blister or crack, use a utility knife to cut a line through the middle of it, being careful not to cut the sound roofing felt underneath. Soak up any water within the blister and make sure the area is completely dry. Then liberally apply roofing cement underneath the loose roof rolling and press down. Hammer galvanised roofing nails into each side of the repaired area and cover the entire area with roofing cement, including the nail heads.
How to repair tile or masonry roofs
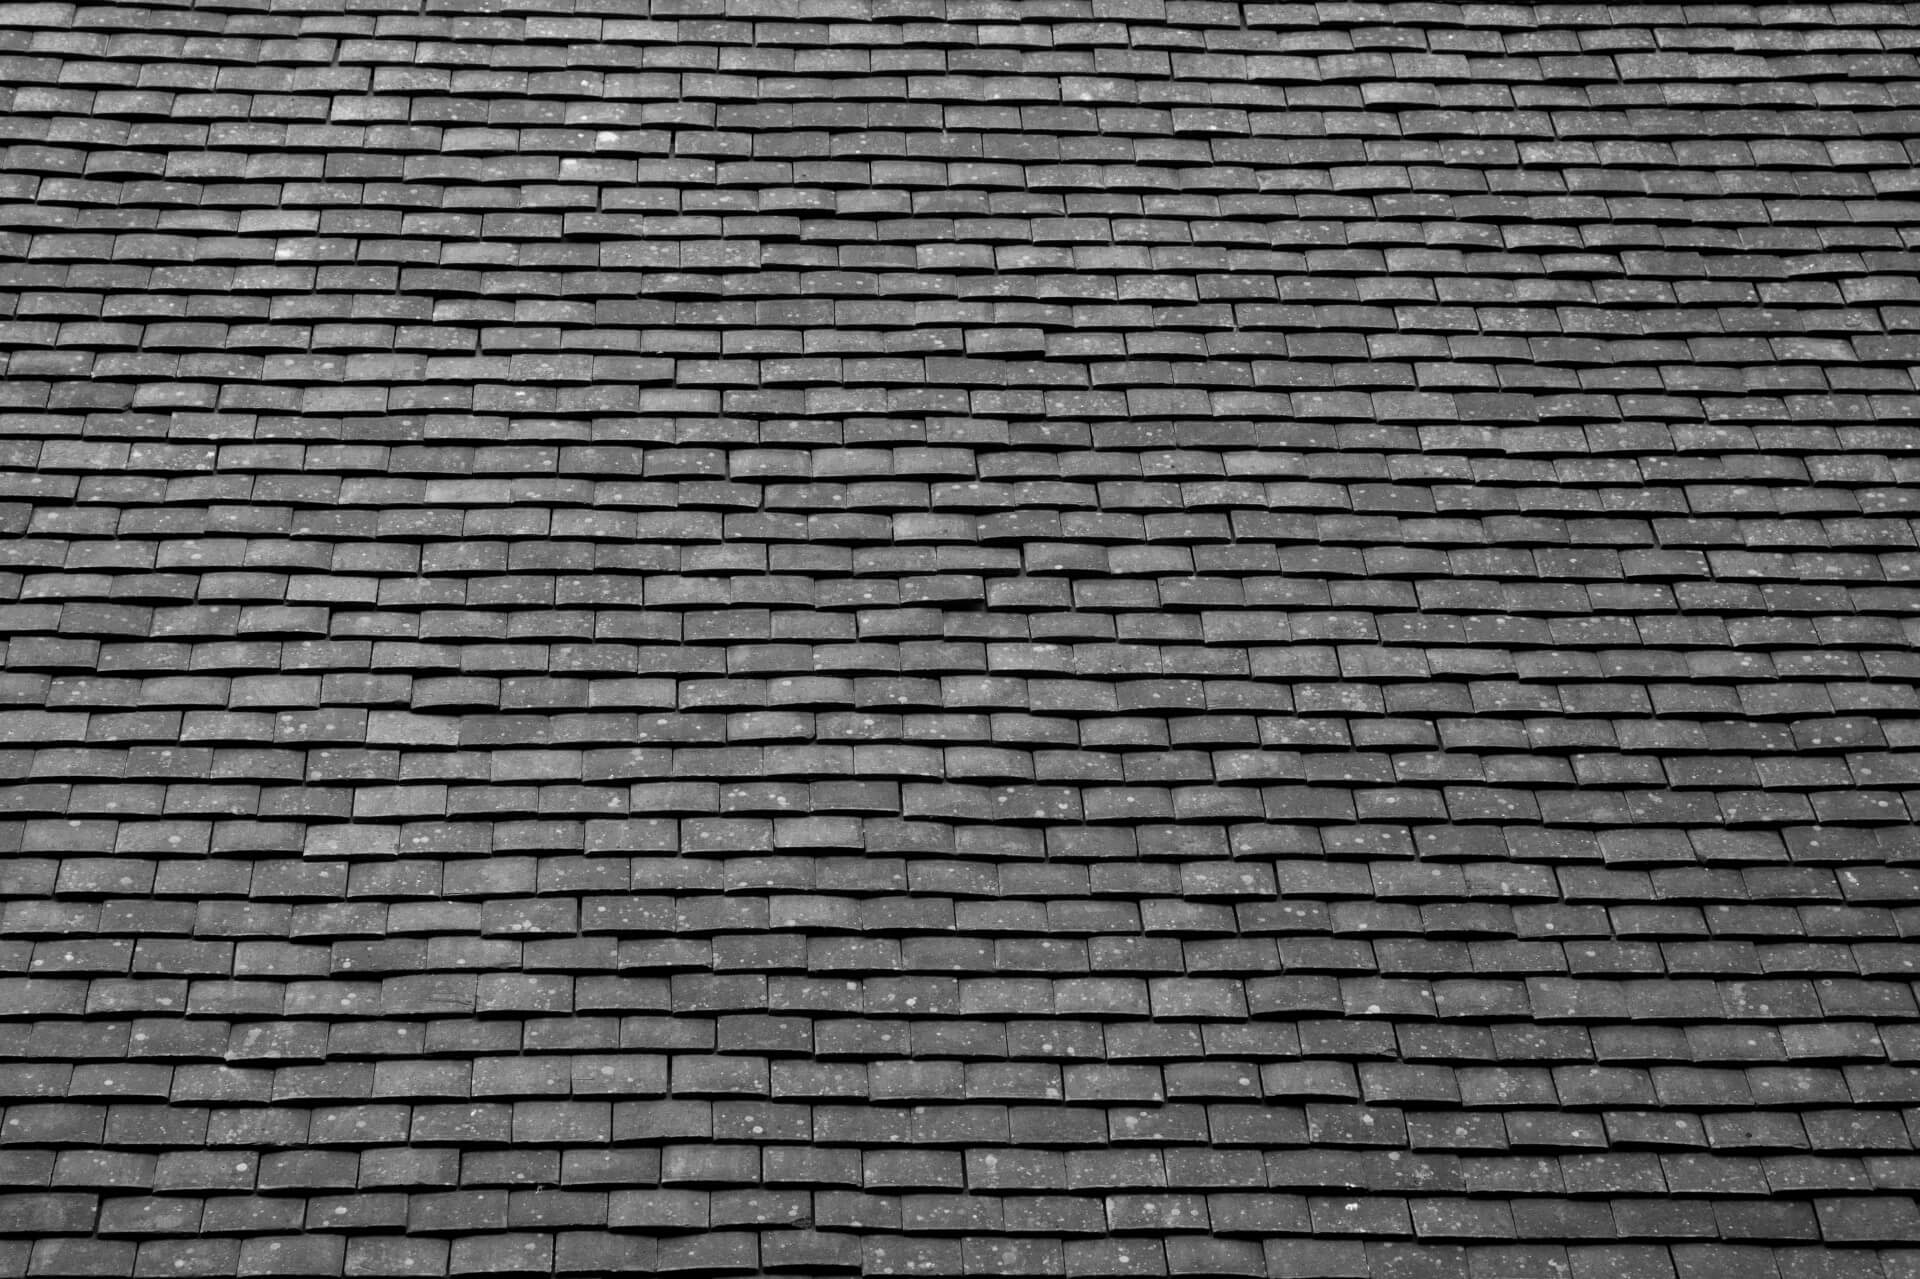
Tile or masonry roofs can be quite susceptible to cracking and small problems can be quite easy to fix. Small cracks or holes can be quickly repaired by scrubbing the area with a wire brush and then filling it with plastic roofing cement.
For larger defects in the tile, it will need to be replaced. Start by prying up the tiles directly above the broken one. You will then need to break the damaged tile to remove it and pry out any nails left behind. If the membrane underneath the tile is damaged, patch it up with roofing cement. Then apply a small amount of roofing cement along the underside of the new tile and slide it into place, pressing down all the tiles gently.
How to repair wooden shake roofs
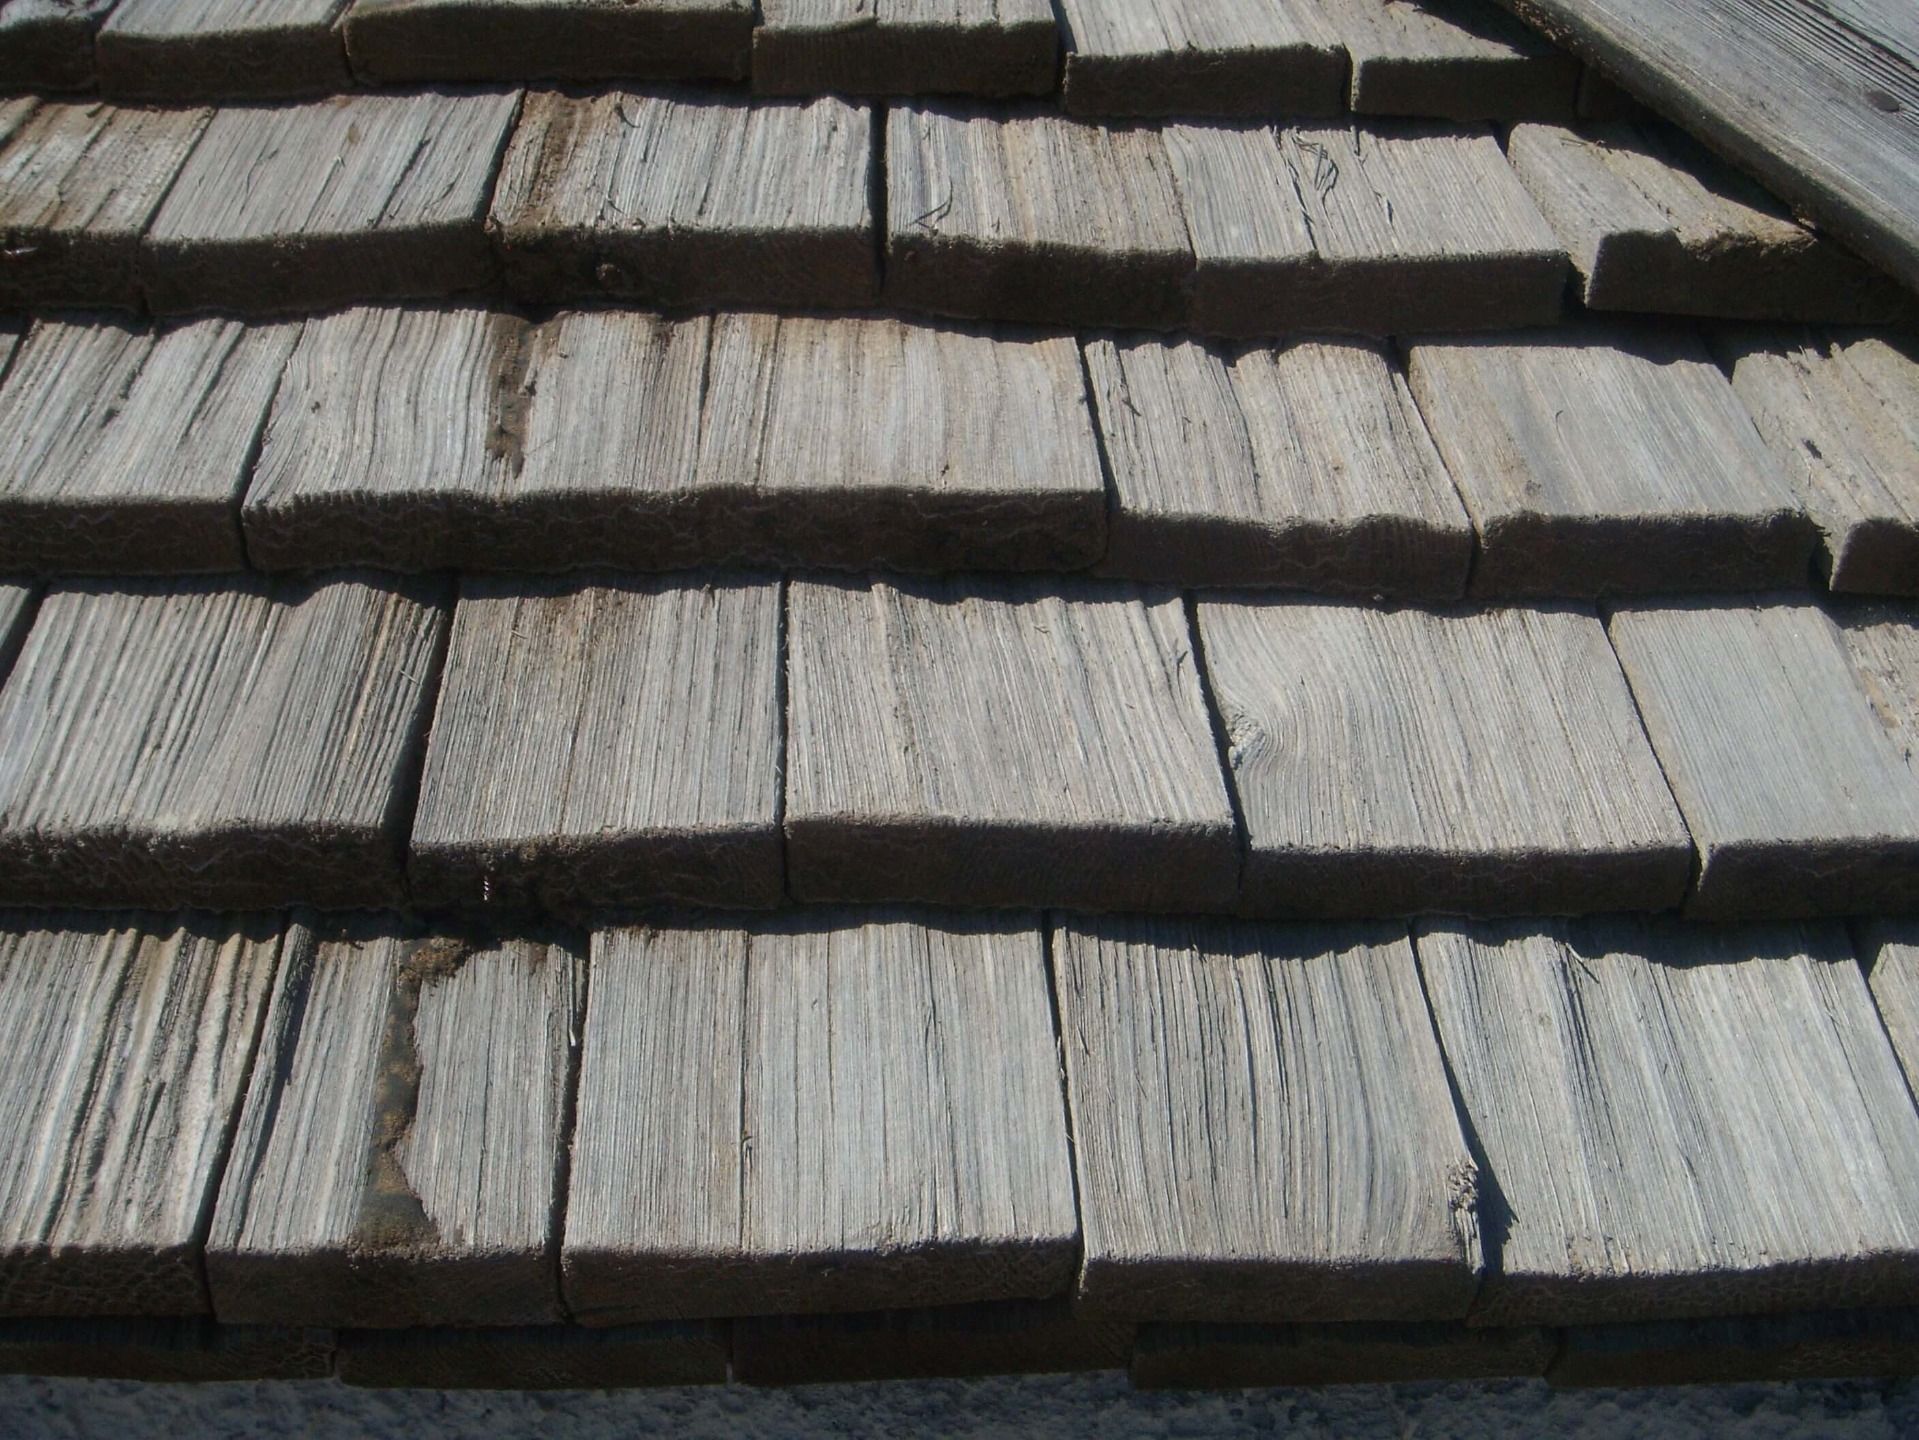
If a damaged wooden shake is causing the leak in your roof, you will need to replace it. Start by splitting the damaged shake with a hammer and chisel, making it easier to remove by sliding the chisel underneath and prising them out. Prise out the nails or saw the ends off with a hacksaw if they will not budge. Using a fine-toothed saw, cut your new shake 9.5mm smaller than the old one and slide it into place, then hammer it in with 2 galvanised roofing nails. Finally, seal the nails in place with caulking compound to complete the repair.
How to repair leaks at connected areas such as the chimney
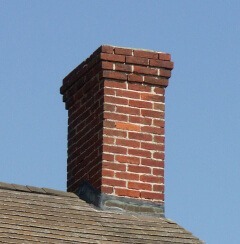
A common cause of leaking roofs is a damaged connection point at the chimney or vent pipe. If the area around the chimney or vent pipe is quite badly damaged, then the chimney or vent pipe might need replacing completely, but if it looks as though the damage is only present at the connection point, you might be able to do a quick repair.
Start by locating any damaged caulking and removing it from the area. You can use a putty knife to remove the damaged caulking. Next, clean and fully dry the area before adding a new layer of caulking. Apply the caulking along the same line which you previously removed, then work it into the cracks using an applicator and leave it to dry.


